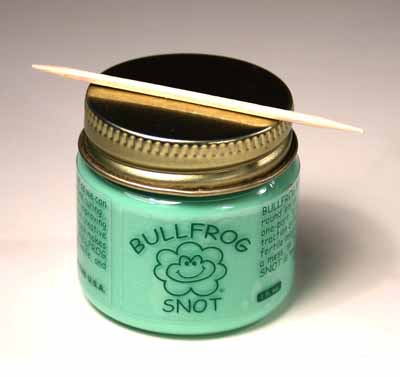
BULLFROG SNOT and suggested installation tool.
Double or Single Bit tools work equally well
as do small brushes, stripwood, twigs, etc...
BULLFROG SNOT is a product and a process.
For true joy, follow these instructions. Please.
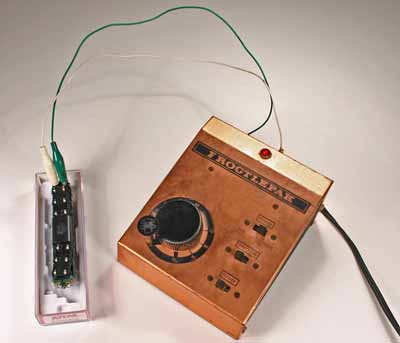
The very basic BULLFROG SNOT work station
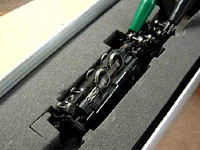
... For split frame locos, the chassis is 'hot', so just touching the
frames makes the wheels move...
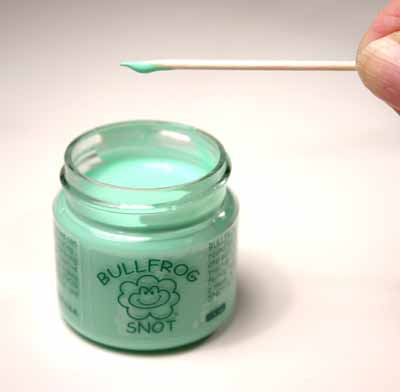
A drop of BULLFROG SNOT on the installation tool
. . . . . . for HO, S, O use more drops as needed
If you feel the burning desire, BULLFROG SNOT
can be thinned with plain 'ol water.
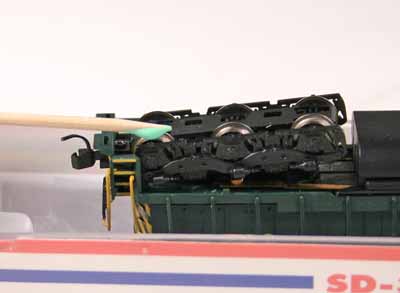
Installing BULLFROG SNOT, just touch it to the
rotating wheel. "Yard speed" works well.
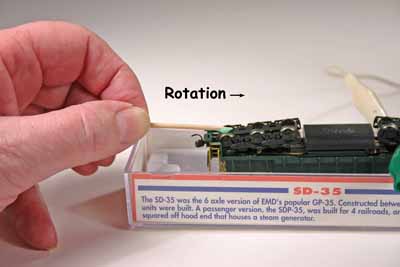
Proper direction of rotation to install BULLFROG SNOT
Do it wrong and you'll get 'clumps' . . . . . .
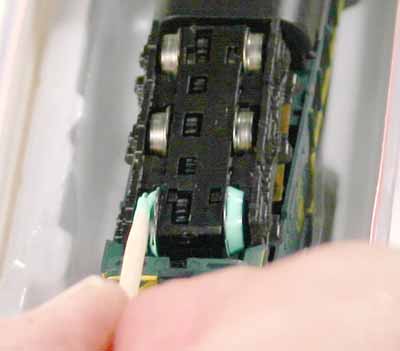
Installing BULLFROG SNOT on a SD-35 *****
Notice that the wheels are 'bare.' BULLFROG SNOT
does not like fresh factory blackened wheels, so
scuff 'em clean or BULLFROG SNOT will not want to stick.
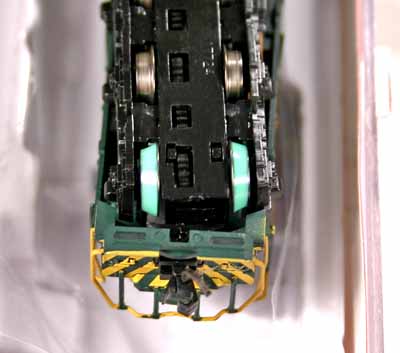
Fresh, properly applied BULLFROG SNOT.
Keep the wheels turning as the BULLFROG SNOT cures,
until the color is gone, maybe 10 minutes or so . . . .
Very important!
Ignore this and gravity will give you a lumpy tire.
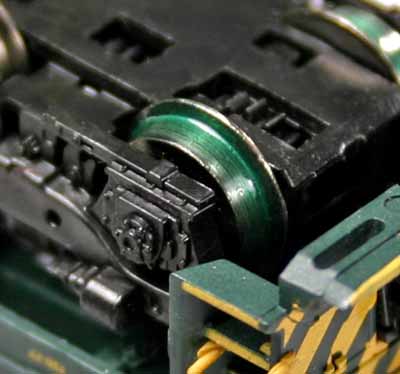
Cured BULLFROG SNOT, thin, tight, smooth
Let it fully cure for a few hours, or better; overnight.
Enjoy. It will change the way you run your trains!
Watch the installation video
Installing BULLFROG SNOT is easy.
*Please note: This is a demonstration of before and after BULLFROG SNOT only, it implies nothing (zip, nada, zero) about
the specific performance improvement you may realize on any particular locomotive
Be sure to read the comments attached to the video-viewable on YouTube.
**** To replace a tire missing from a grooved wheel, apply multiple
layers over a period of several days (not all at once) allowing each to fully
cure before proceeding, until the desired level is reached. Check the grip
by on-track testing.
If more conductivity is desired, trim the cured BULLFROG SNOT from
the flange area. Works great for 4-4-0'S, 0-4-0'S, etc...
 BULLFROG SNOT

